How to onboard applications to MeshDB
These instructions are for creating API access for automated systems. For human users, see How to Onboard Users to MeshDB
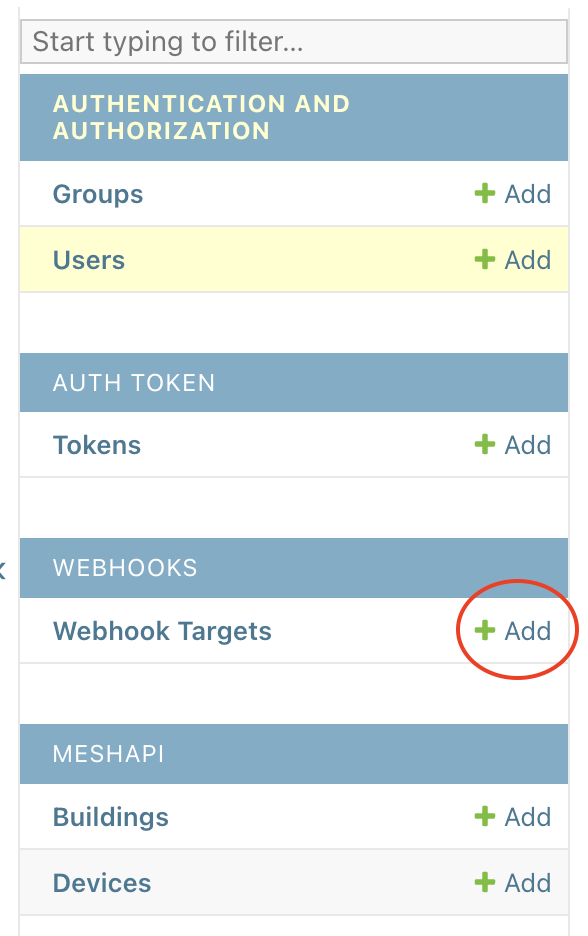
Adding a new user for an application
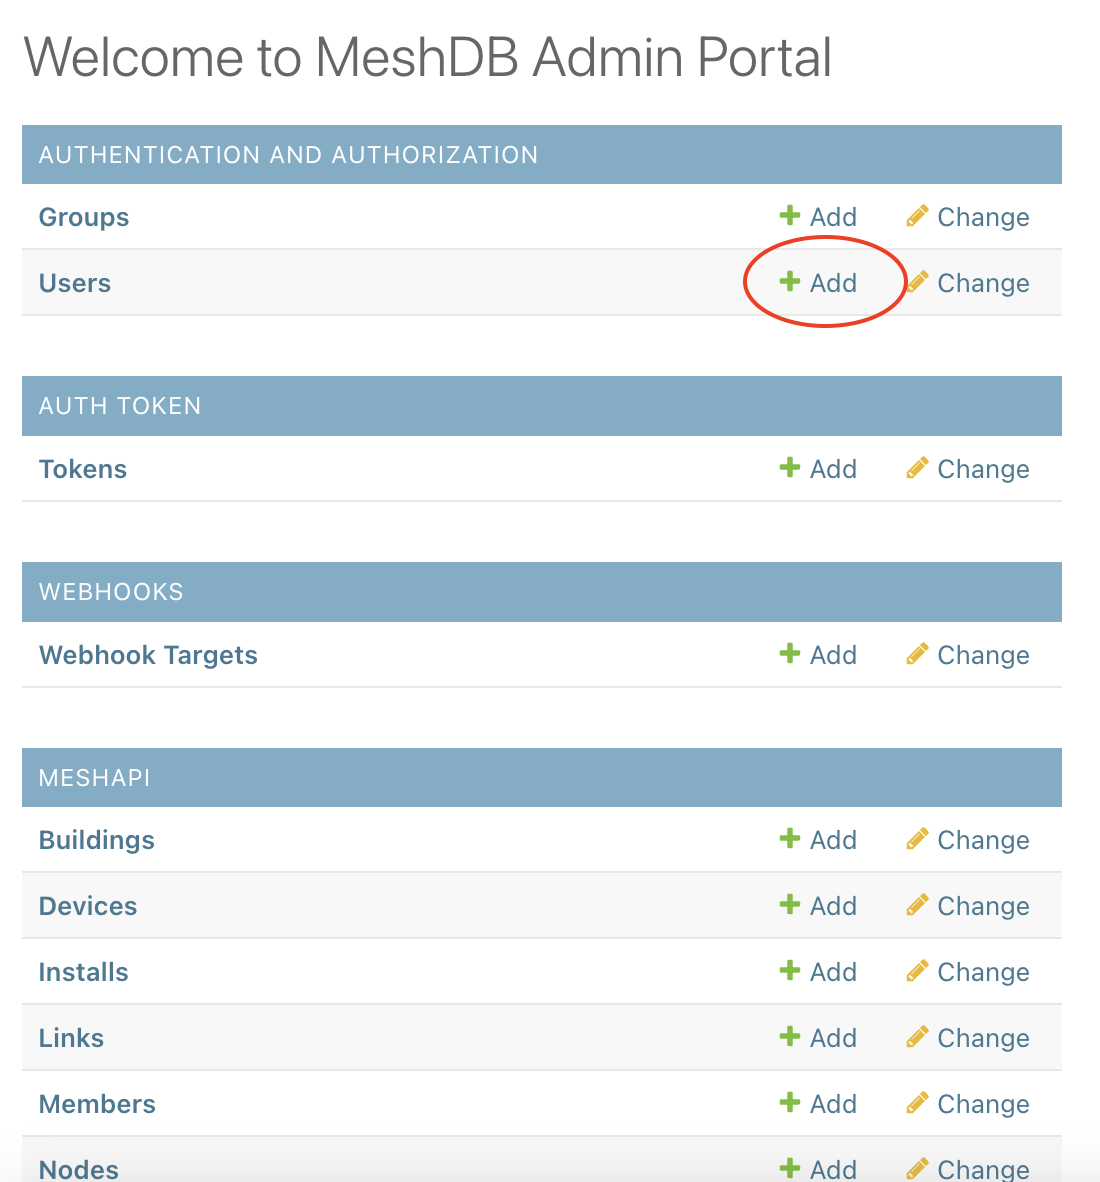
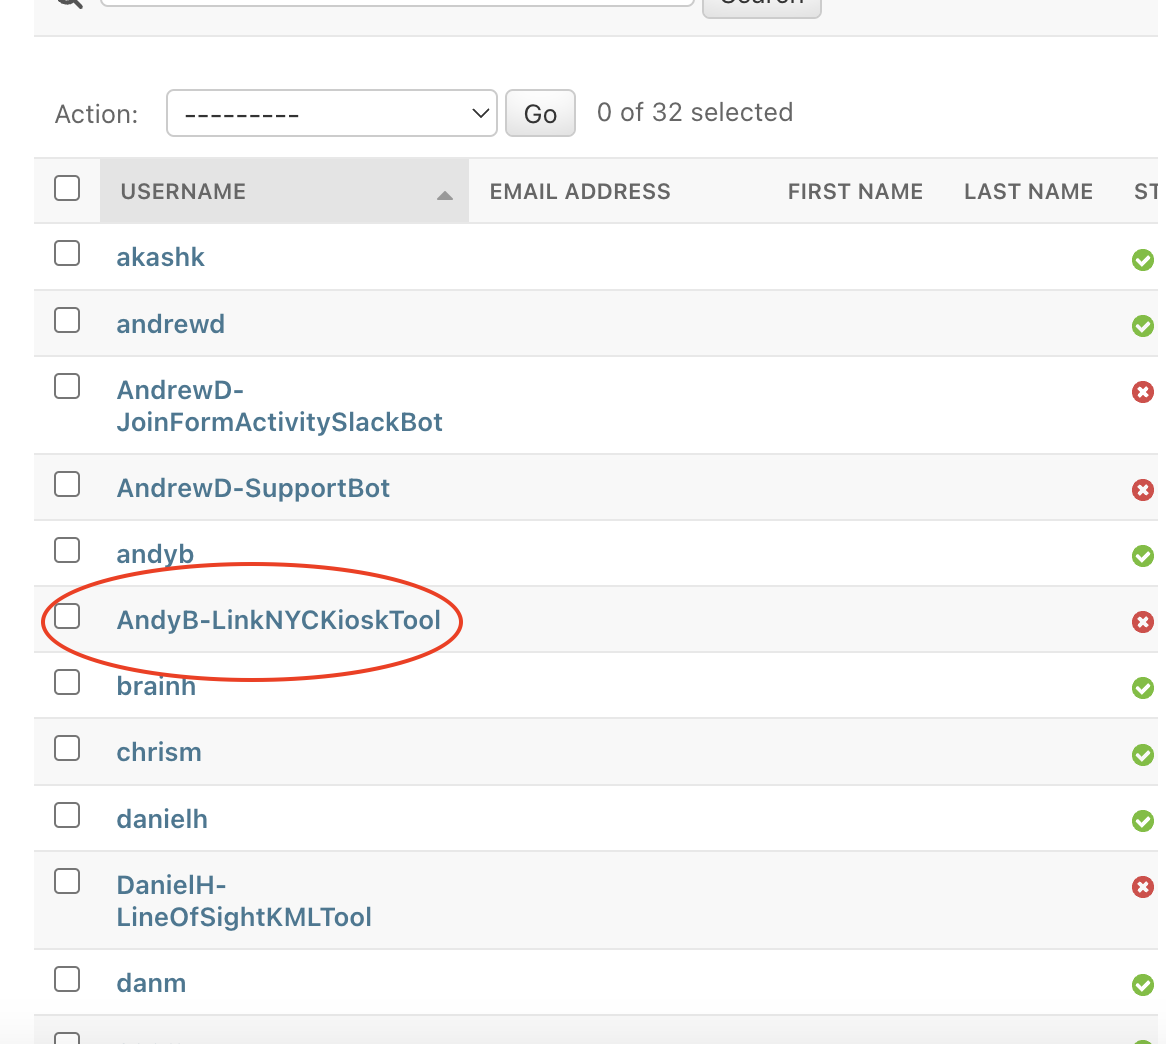
Make a new user specifically for the application, not just the author of the application. For example, if Andy is creating an application to measure member distance to link NYC kiosks, don't create a user called AndyB, create a user called AndyB-LinkNYCKioskTool. For the password, enter something secure, like a random password generated by your browser, but there is no need to save this password, we will use a token to authenticate this user.

Save the user, and then click on the username in the Users list to add the necessary permissions directly on the user object. Do not add the user to any groups. Do not grant the user Staff or Superuser permissions
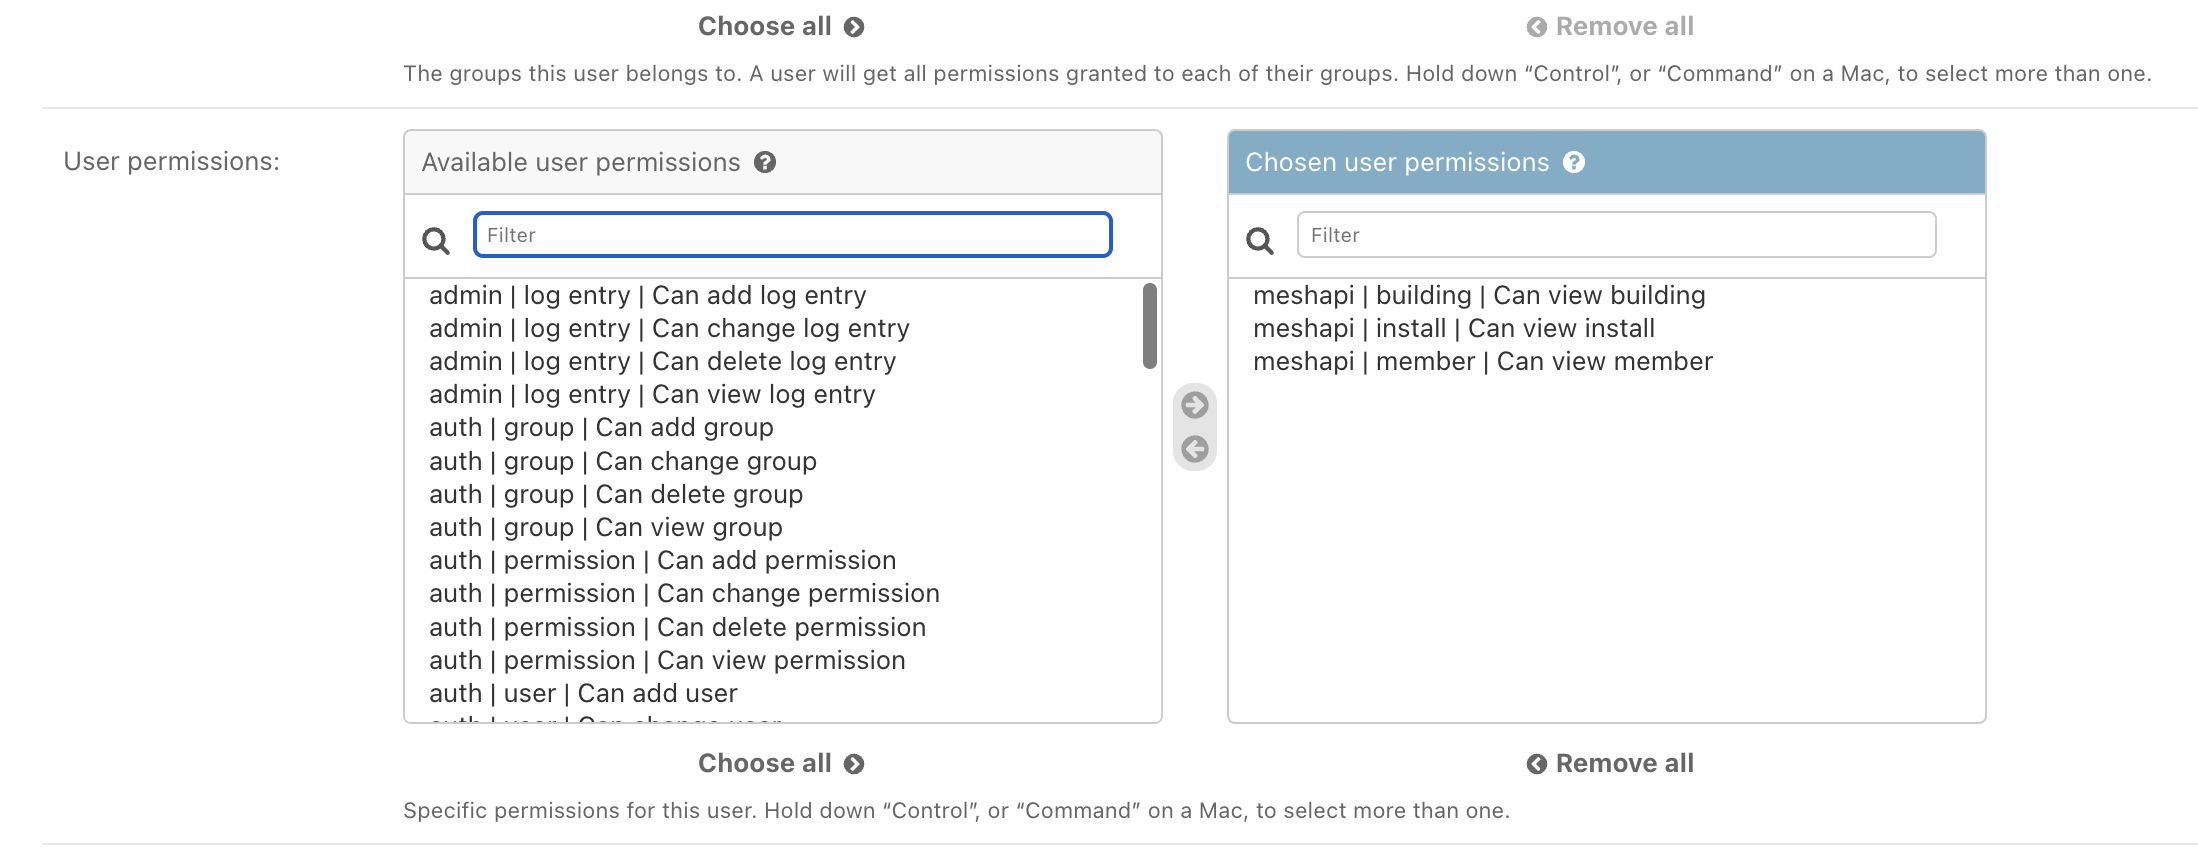
Use the arrows or double click to select permissions from the list of all possible permissions the application could be granted. Most applications do not need change/delete/add permissions. In this example, we grant Andy's tool "view" access to the Install, Building, and Member tables. Save the changes you've made to the user object.
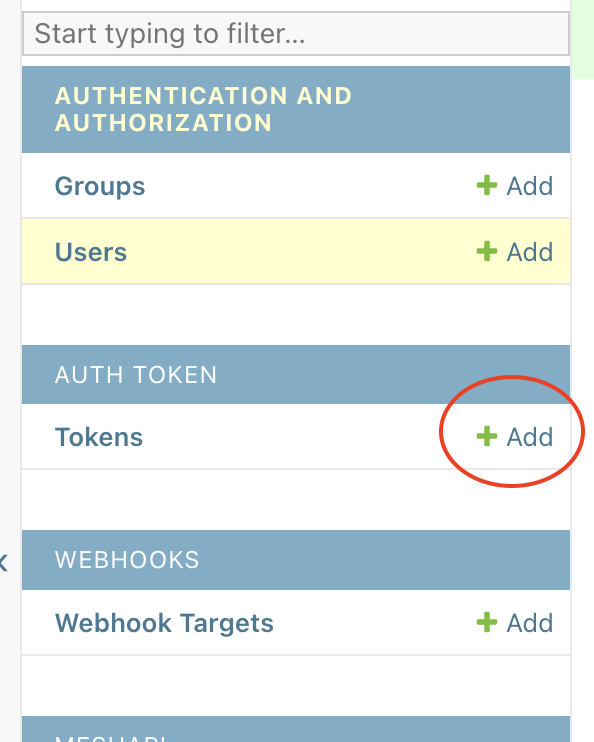
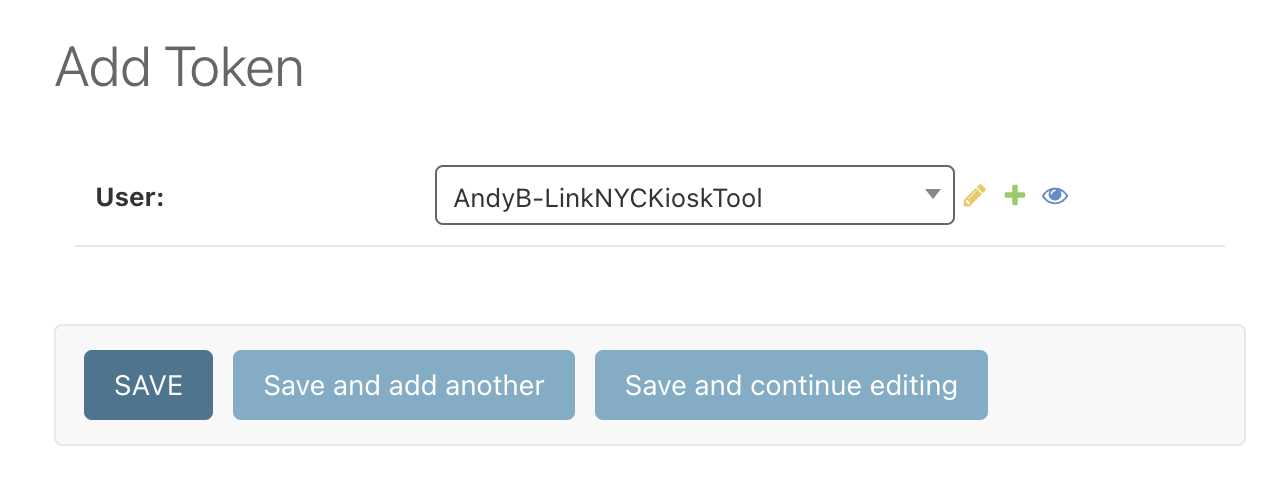
Adding an API token
Follow the instructions under Adding a new user for the application above. Then select "Add" next to Tokens. Select the user you just created in the dropdown provided
Save the new token, then send it to the author of the application. For more information on using this token to query the API, see the API docs here: https://db.grandsvc.mesh.nycmesh.net/api-docs/swagger/
Adding a new web hook recipient
Follow the instructions under Adding a new user for the application above. You may use the same "User" object for both tokens and web hooks if they are for the same application.
Select the "Add" button next to Webhook Targets, then use the magnifying glass icon to select the user you created for this application. Enter the target URL for the notification delivery (will be provided by the application owner). This URL will receive an HTTP POST request every time the selected event is fired.
 .
. 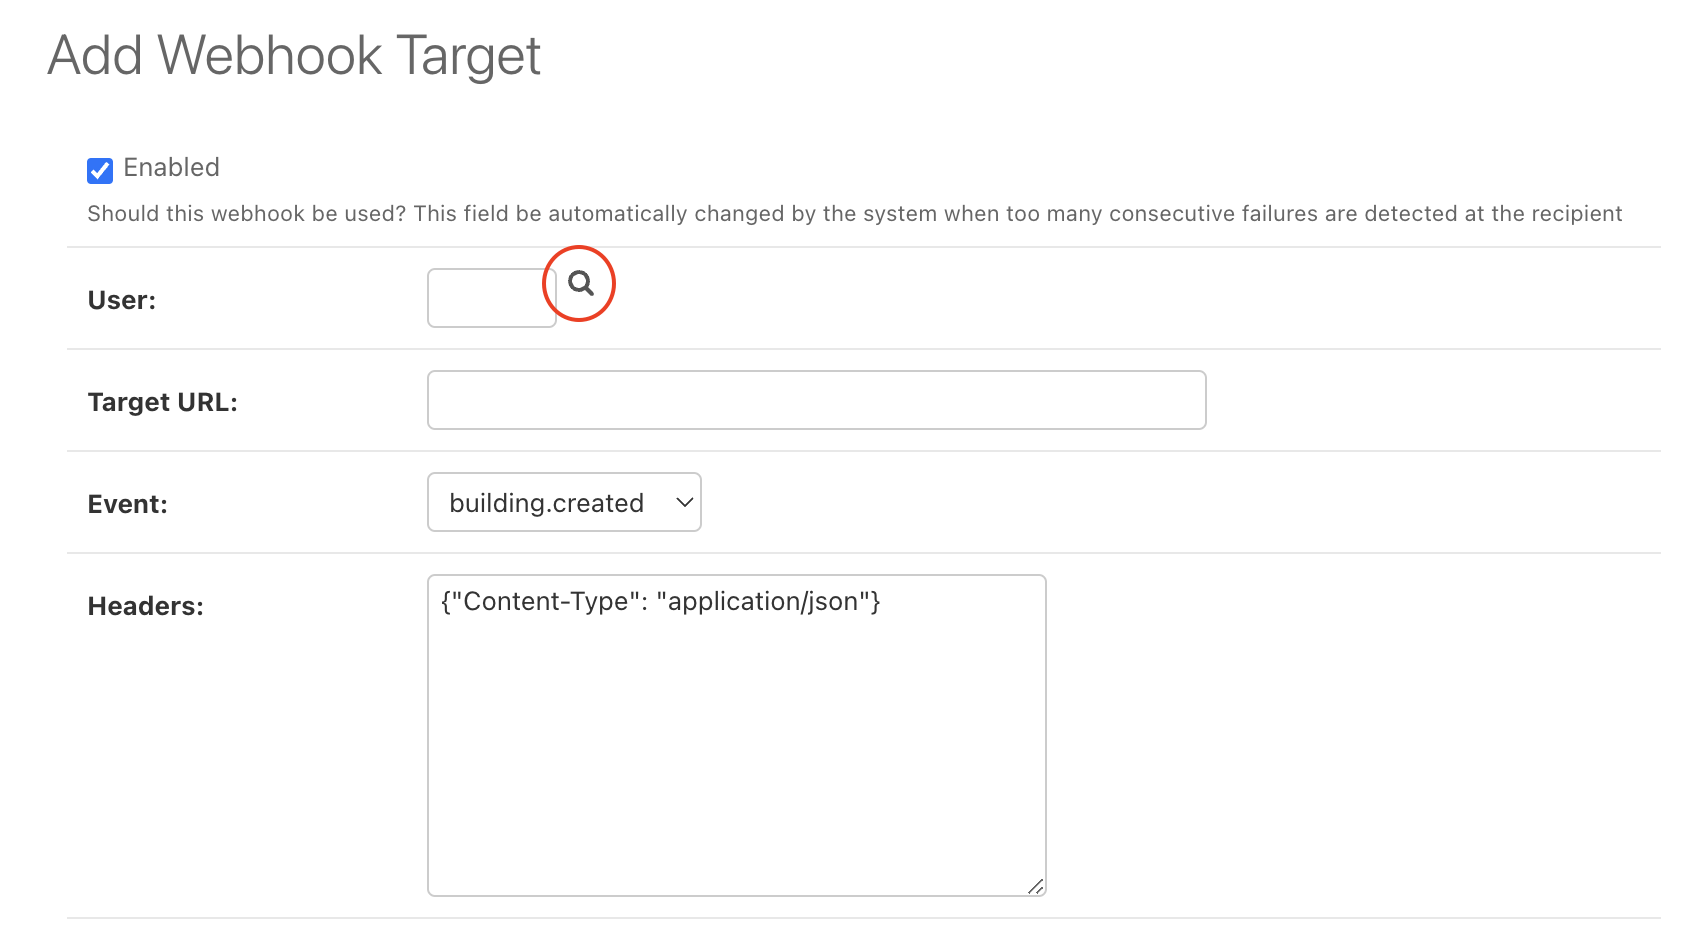
Select the appropriate event in the dropdown based on the event the application needs to receive, and save. If the application needs to receive more than one event type, add a separate webhook target for each event they need to receive.